How to Start Calligraphy
So, you’ve fallen in love with hand-lettering…
Your social media feed is blowing up with lettering videos.
You’ve raided your local craft store for your first set of calligraphy pens.
You randomly letter on every piece of scrap paper you can find.
Start Your Calligraphy Journey
Follow the steps below to start building your lettering skills like a pro!
Step 1:
Learn the Lowercase Alphabet
The first step in your hand-lettered calligraphy journey is to learn the lowercase alphabet. There are a million fonts out there to play around with, but your foundation as an artist is the lowercase alphabet.
Start with the lowercase letters practice sheets to learn the alphabet forwards and back. And be sure to try out the free PDF before you get started!
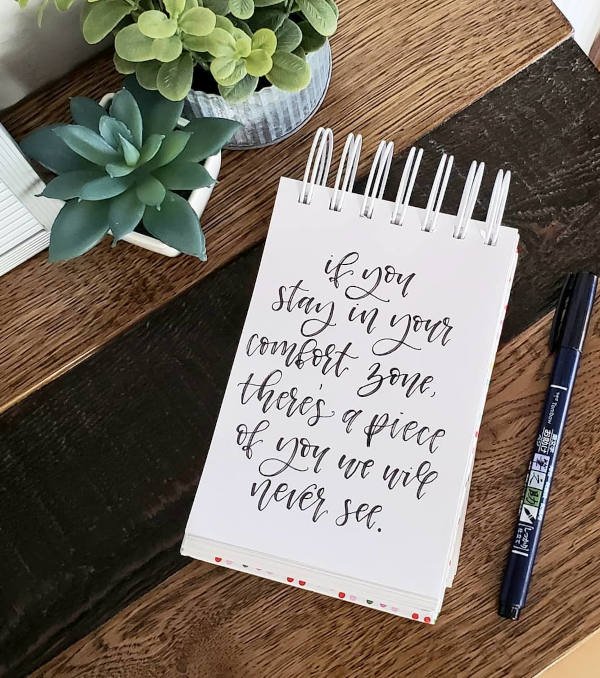
If you want to do this…
First, you have to learn this!
Pro Tip #1
You’ll need a solid brush pen if you want to do calligraphy right. You don’t need a 100-pen box set to be a real artist. Go with a Tombow Fudenosuke to start with.
Pro Tip #2
Give extra practice to the letters e, a, r, I, o, t, n, s, l and c. According to an article published by Reader’s Digest, these are the most common letters in the English language.
Step 2:
Move on to Capital Letters
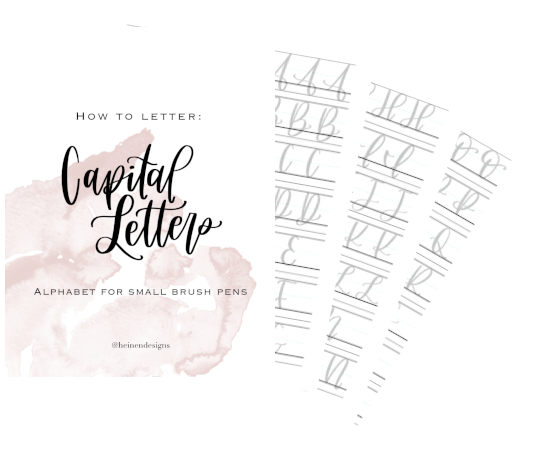
Capital letters are used less often in calligraphy, but you’ll still need the uppercase alphabet in your toolbox if you want to be a versatile artist.
Move to the capital letters practice sheets next.
Pro Tip #3
Typography lines can be helpful to learn about, but don’t get too caught up in perfecting them. In hand-lettering, they’re meant to be an estimate, not exact change.
Pro Tip #4
Print your practice sheets out on regular printer paper. Don’t worry about buying anything fancy. You’ll be printing them out multiple times, so go with something cheap.
Step 3:
Perfect Your Lettering Combinations
According to a study conducted by the University of Illinois at Chicago, the 10 most common lettering pairs in the English language are as follows:
th
he
an
in
er
nd
re
ed
es
ou
This means as a lettering calligraphy artist, you’ll be writing these pairs of letters a lot. Hand-lettering 101: your letters need to flow together, and it’s not always obvious how that connection should be made.
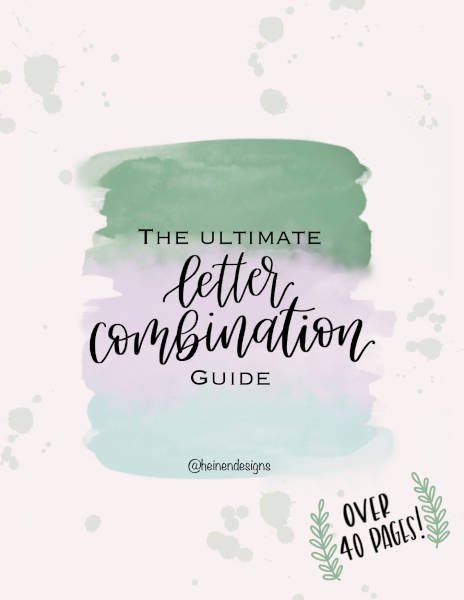
Enter the ultimate lettering combination guide. This comprehensive guide shows you how to letter all of the pairs above as well as every other possible pair in the English language.
Pro Tip #5
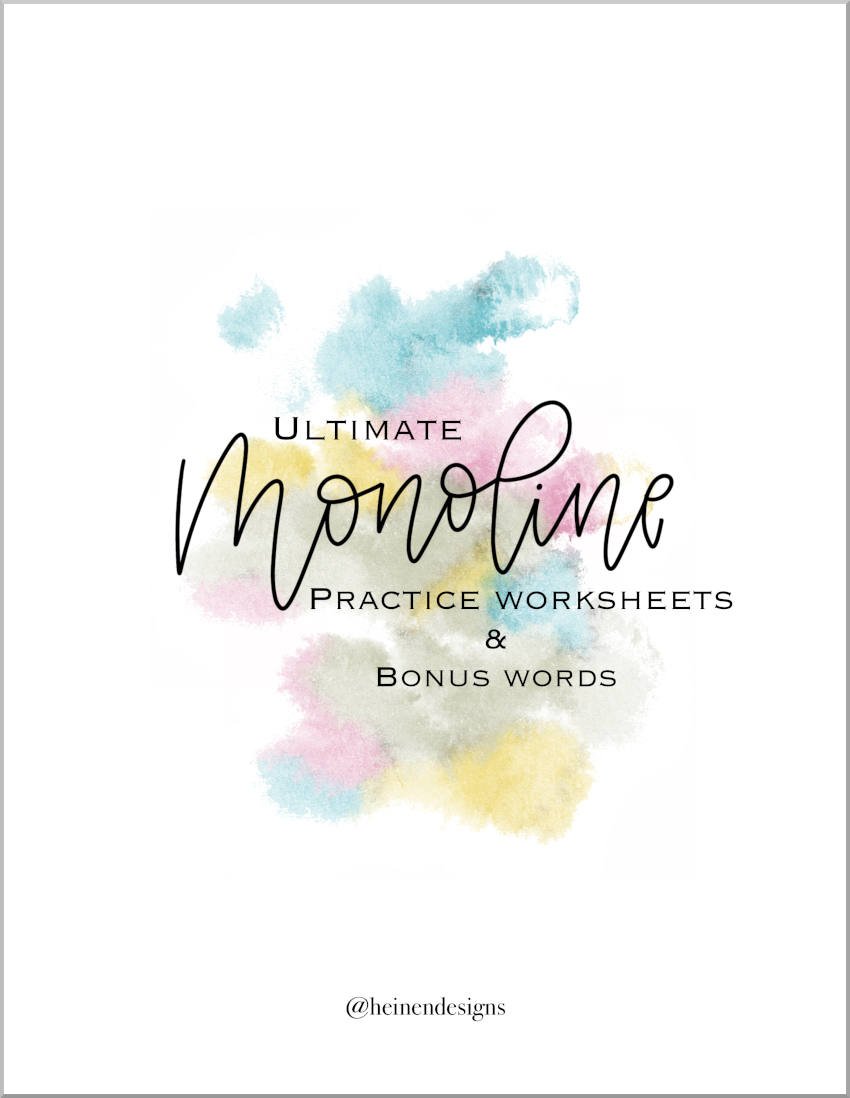
It’s not enough to practice single letters or even paired combinations. Before long, make sure you’re supplementing your routine with a healthy dose of traceable practice words.
Pro Tip #6
You can also expand your toolset beyond the basic alphabet by supplementing with numbers and symbols. Hand-letter long enough, and you’ll find you need them.
Step 4:
Mix up Your Fonts
Brush lettering is the foundation of modern calligraphy. That’s hand-lettering 101. But if all you learn is the uppercase and lowercase brush letter alphabet, your pieces can start to feel monotonous.
It’s now time to expand your toolset. We recommend adding these three to your daily practice routine:
Step 5:
Stretch Yourself with an Original Font
If you’ve carefully followed the first four steps, you’ve undoubtedly become a calligraphy adept. But to truly cross into the realm of artistry, you need to own it for yourself.
Learning someone else’s fonts can give you legs. But it’s up to you to run.
Push yourself to the next level by developing your own nuances within the fonts you know and even coming up with your own original font, like these:
How Can We Help?
If you’re not finding the right hand-lettering resource on this page or you have a specific question about how to improve your skills, send us a message!


