How to Use Calligraphy Practice Sheets
So, you’ve just downloaded a calligraphy practice sheet. Now what? Naturally you downloaded it to be able to practice your lettering skills, but how do you go from tapping that download button to actually sitting in a cozy chair, listening to some soothing tunes, tracing each stroke of your new calligraphy alphabet?
In this guide, we’ll walk you through step-by-step how to use calligraphy practice sheets. We’ll cover both the print-out option for lettering on physical paper, as well as the digital option using your tablet and Apple Pencil or similar.
In this guides, we’ll cover:
Read to the end for your FREE practice sheet download!
What is a Calligraphy Practice Sheet?
We’ll start by defining what we mean by “calligraphy practice sheet.” A calligraphy practice sheet is an educational resource that teaches you how to write calligraphy letters and words through the method of tracing and repetition. It usually takes the form of a PDF (Portal Document Format) file that can then be used for the exercise of writing calligraphy letters.
Calligraphy practice sheets can include a single letter or the entire alphabet. They can consist of letter combinations, words, or even numbers and symbols. They can also feature different fonts from a range of modern calligraphy styles – from monoline fonts to brush lettering. They can be one page or many.
In short, a calligraphy practice sheet is a tool that helps you learn calligraphy by doing, training your mind, your eyes, and your hand muscles.
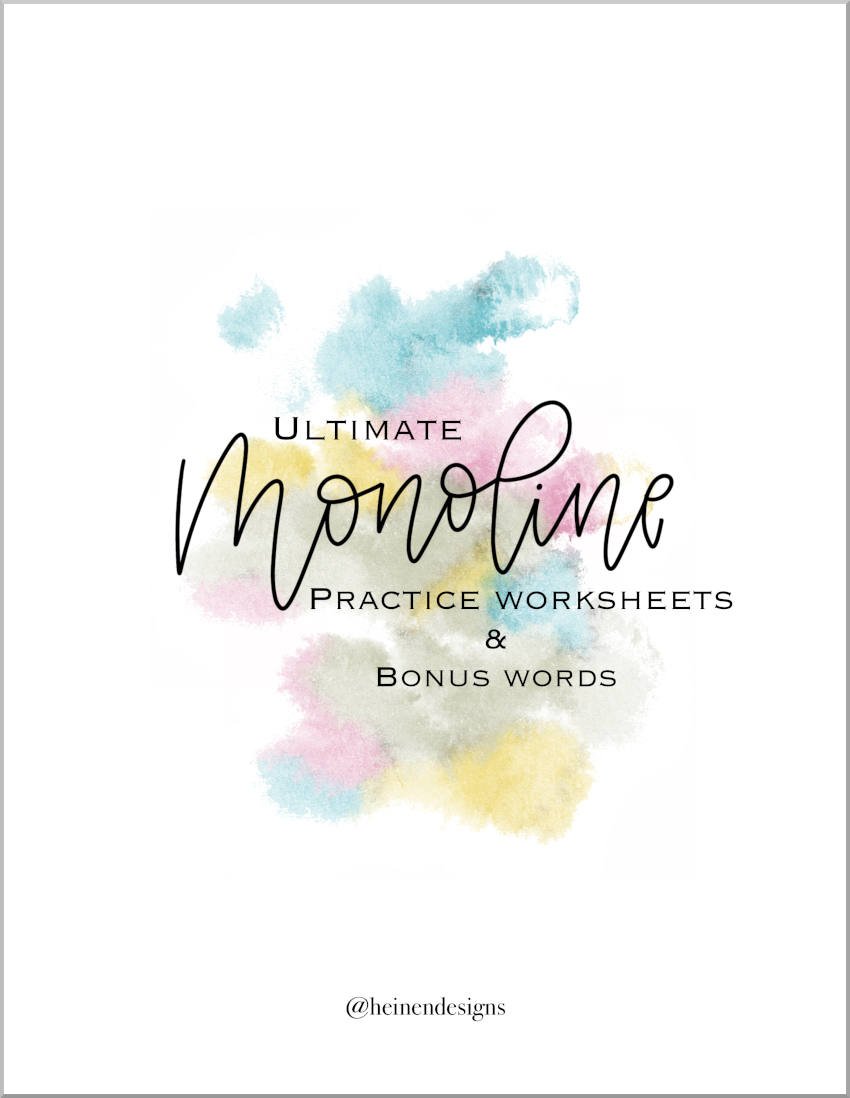
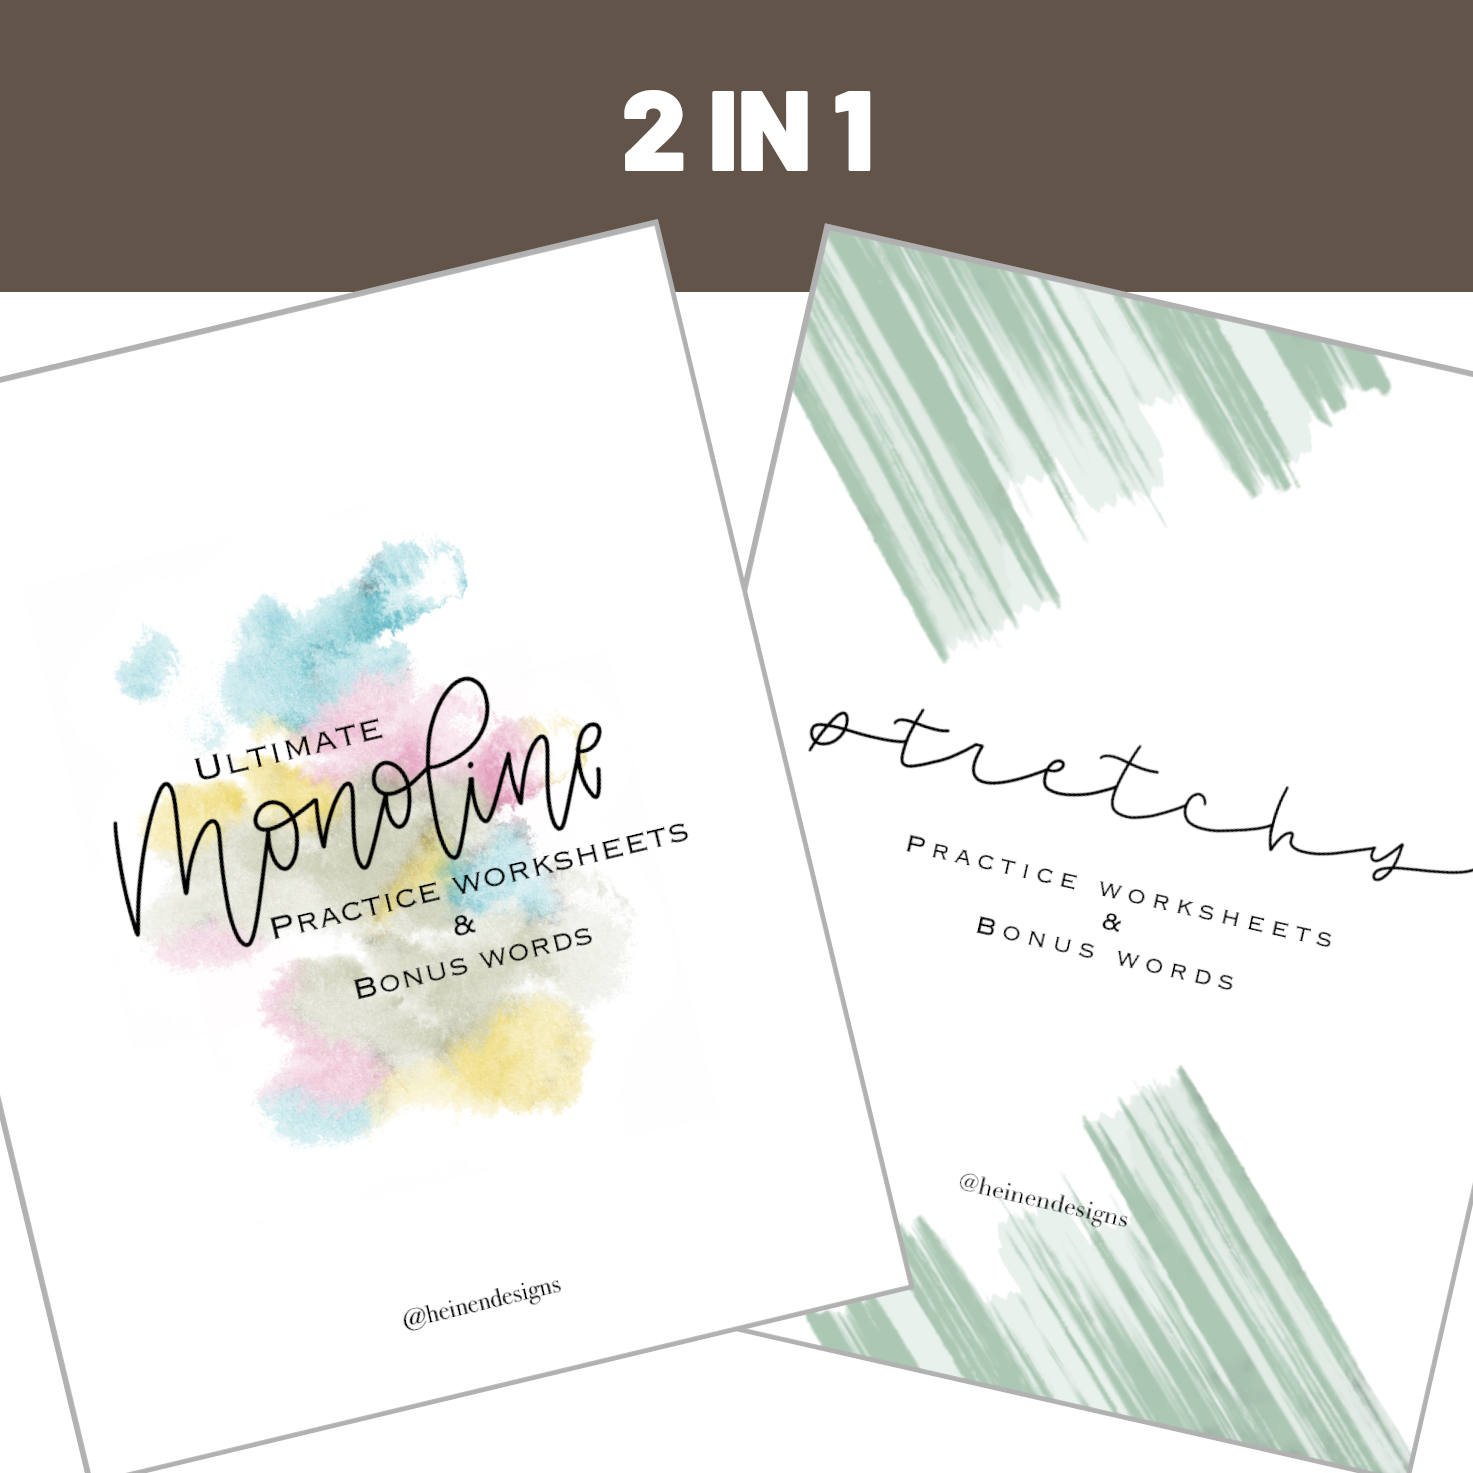
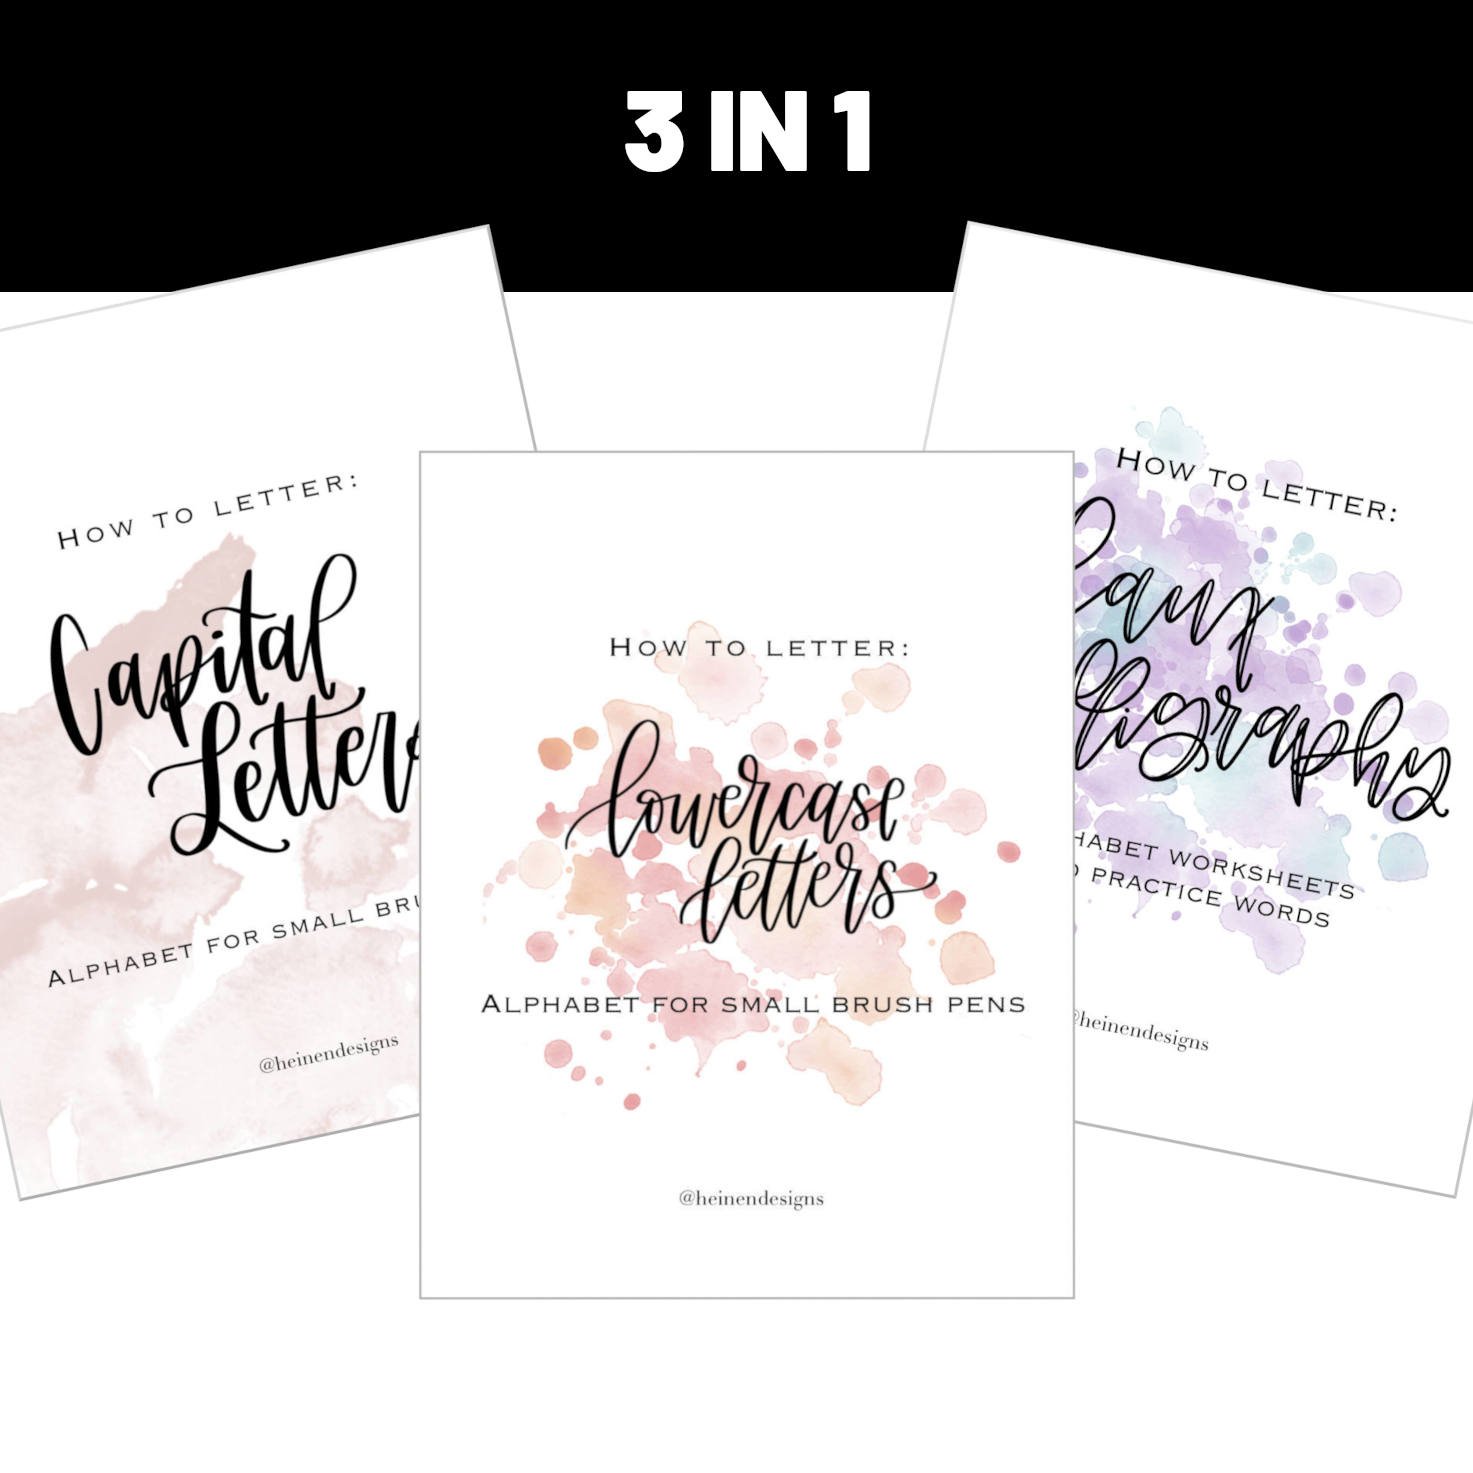
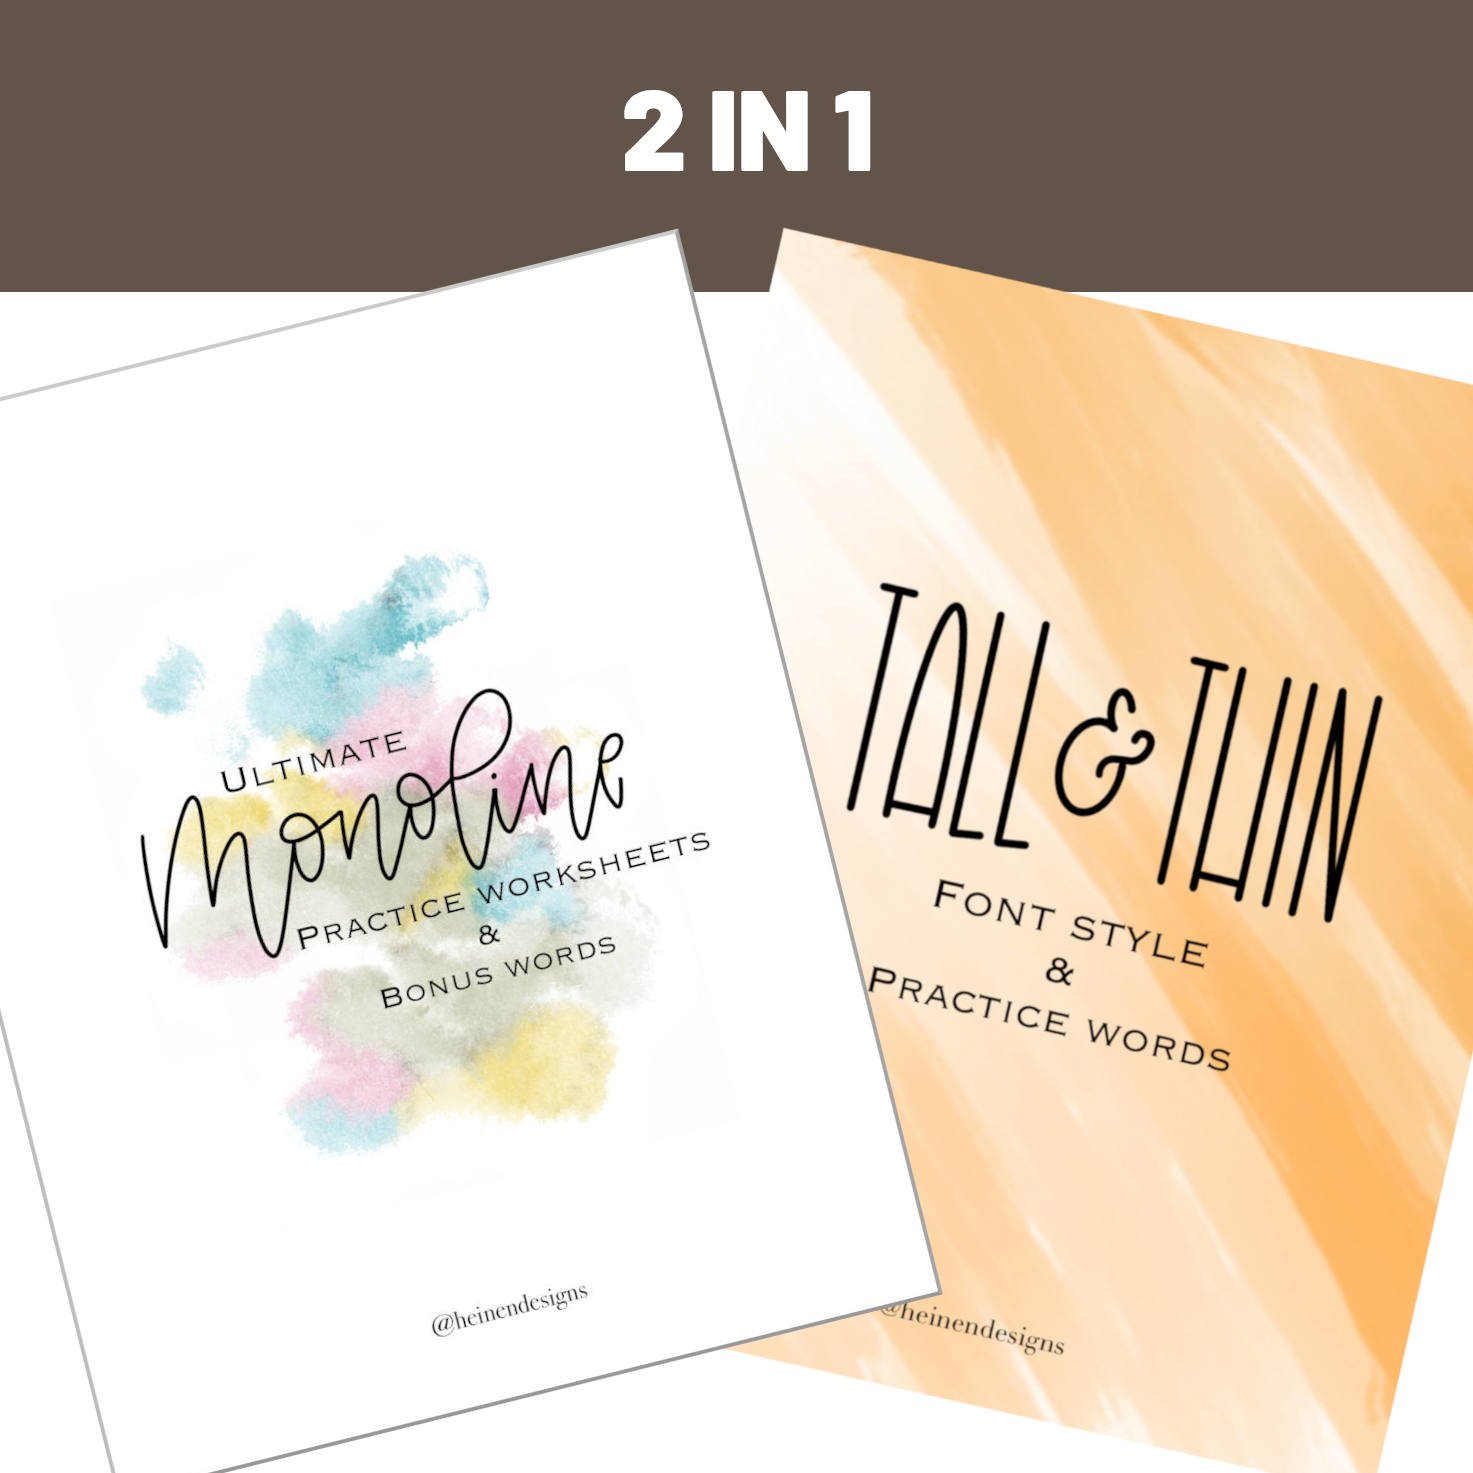
Here are some real calligraphy practice sheets for example. Yep, you can actually download these!
Parts of a Calligraphy Practice Sheet
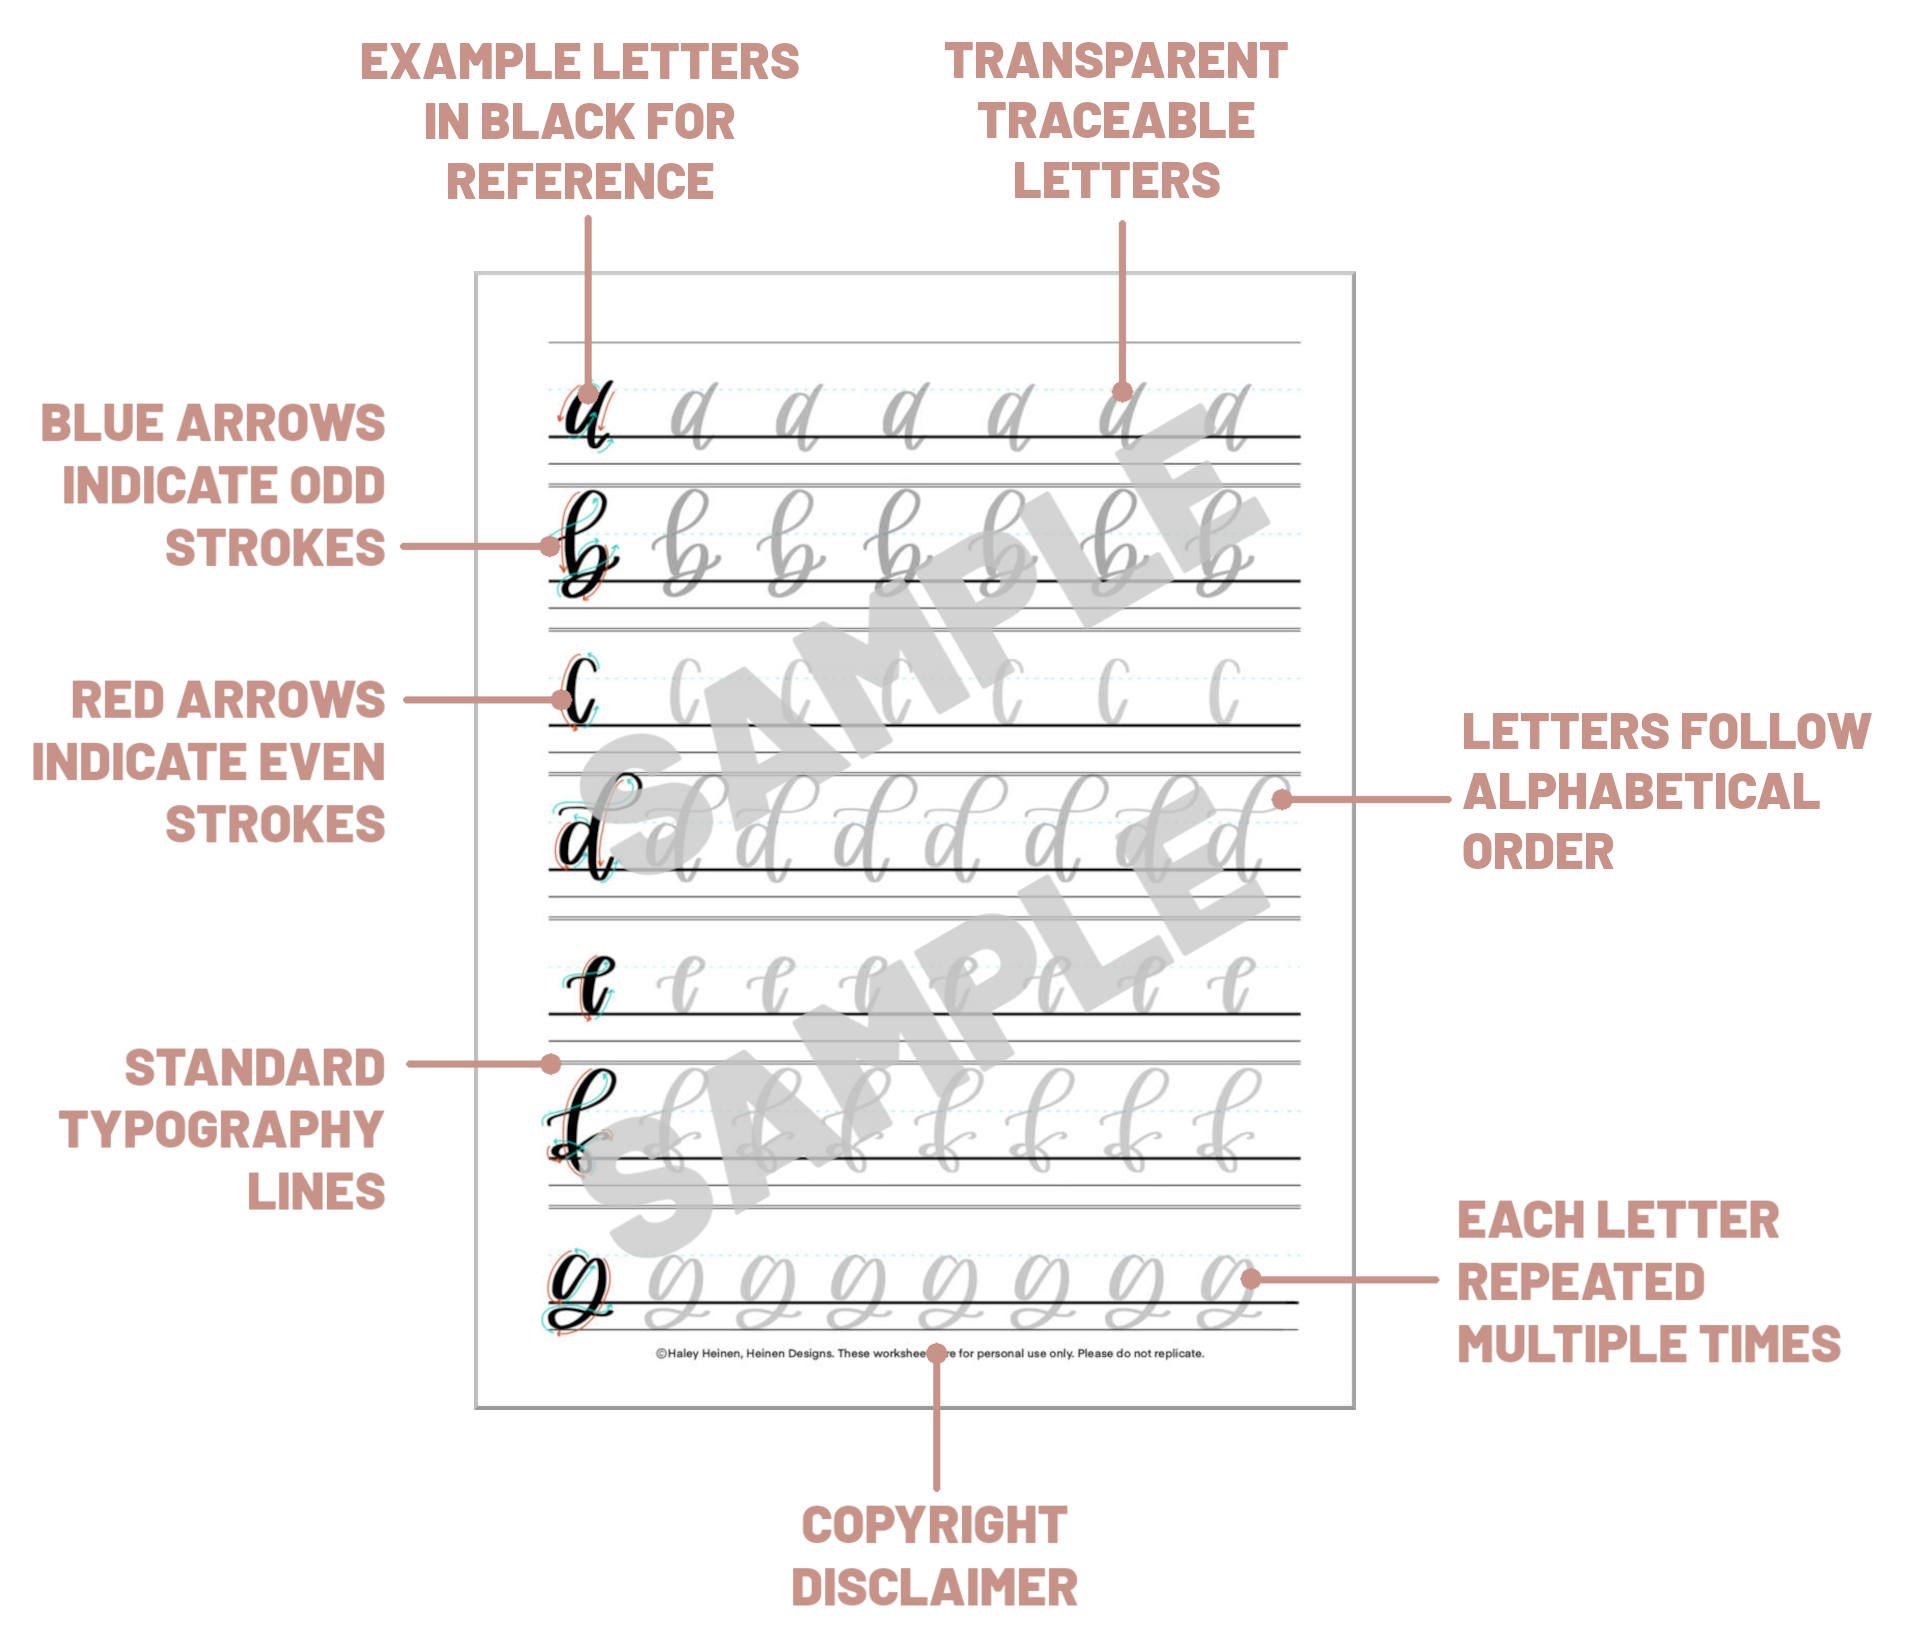
There several key parts to a calligraphy practice sheet that make it useful for mastering any hand-lettering alphabet. Take a moment to examine the diagram below and familiarize yourself with each feature.
Example Letters
Each calligraphy practice sheet includes an all-black example letter at the start of each row. This provides a reference for each letter in the alphabet, A through Z, allowing you to observe, study, and have a benchmark for tracing the letter across the row.Traceable Letters
The meat or substance of a calligraphy practice sheet is its traceable letters. These light-grey, semi-transparent versions of the example letter are the vehicle for building and honing your calligraphy skills. The lighter grey copies of the letter are meant to be traced over with your pen or digital pencil.Blue Arrows
Most calligraphy practice sheets from Heinen Designs come with arrows or help lines, indicating the direction of each stroke. Half of these arrows are blue. The blue arrows represent the odd strokes – 1, 3, 5, and so on. When tracing each letter, start with the blue arrow as stroke number one. Then, move to the red arrow.Red Arrows
The red arrows or help lines on the example letter indicated the even strokes – 2, 4, 6, etc. If the first blue arrow is the first stroke of your pen, the following red arrow will be the second. Then, a blue arrow again will be the third. Then, a red arrow for the fourth, and so on to the end of the letter.Typography Lines
All Heinen Designs practice sheets come with standard typography lines. These are the horizontal lines spanning the width of the paper. If you look closely, you’ll notice that some of the typography lines are solid, and others are dotted. You’ll also notice that some lines are black, and others are blue. Typography lines are an essential part of learning calligraphy because they act as guidelines for your letters. Very simple, they show you how tall and how deep each part of each letter should be.Alphabetical Order
All Heinen Designs calligraphy practice sheets are arranged in alphabetical order. A comes first. Then, B. Then, C – you get the idea – just like the alphabet. This makes things easy and straightforward when navigating through multiple pages and progressing through each exercise.Repeated Letters
A vital part of calligraphy practice is repetition. You can’t expect to master a letter after writing it just once. That is why calligraphy practice sheets have each letter repeated multiple times. In fact, each row is filled entirely with only a single letter repeated over and over again. Other practice sheets even have the same letter repeated on multiple rows. Repetition = practice, and practice = mastery.Copyright Disclaimer
Every Heinen Designs calligraphy practice sheet comes with a standard copyright disclaimer that states: “These worksheets are for personal use only. Please do not replicate.” These resources are meant for you, fellow calligraphy artist! They’re designed to help you grow as an artist and master your hand-lettering skills. Please don’t mass produce them or distribute them across the internet. 😊
Two Calligraphy Practice Sheet Options
As an added bonus to these amazing resources, calligraphy practice sheets (at least the ones from Heinen Designs) are really a two-for-one. Each can be used for lettering in two different ways.
1. Print-Out
The first way to use a calligraphy practice sheet is to print it out on real paper, just like you would a school paper or a kids’ coloring page download. This obviously requires a printer with ink and printer paper, but any printer paper will do the trick – nothing special required. It also requires a pen, and depending on the font you’re working with, you may need a brush pen or you may be able to get by with a standard ballpoint pen. More on this later.
2. Digital
The other option for using a calligraphy practice sheet is to use it digitally. That is, downloading the file directly or transferring it to an iPad or other tablet and lettering with an Apple Pencil. The digital method requires an app or program on your tablet like Procreate.
Real Paper vs. Digital Lettering: Which is Better?
Hand-lettering with pen and ink is very different than digital lettering, but that doesn’t mean one is better than the other.
Some of the differences are obvious. In digital lettering, you can easily undo mistakes with the tap of your pencil. You can instantly clear a completed practice page and start again, instead of needing to print off another sheet. When it comes to applying your lettering, digital can be more versatile because it’s easy transfer, copy, and distribute digital files, turning your calligraphy art into a vinyl sticker, T-shirt design, or other product.
While lettering on real paper can have its drawbacks, like bleed-through, smudges, and the limitations of color options in your ink, there is nothing like the thrill of real ink on a piece of paper. There’s a texture to it, an aesthetic that becomes almost therapeutic.
However, the true difference in lettering on real paper versus digitally comes down to the feel of it. Whether you’re practicing a monoline font or brush lettering, a digital pencil writes differently than an ink pen – plain and simple. It lays down lines with a certain approximation and “stickiness” that feels vastly different than an ink pen on paper.
Digital lettering can take some getting used to, and it’s important to note that moving from one medium to the other might not come easily. Both require practice because they’re not the same skill.
Using Your Calligraphy Practice Sheets Step by Step
Let’s get into what you’ll need to do to start using your new calligraphy practice sheets or worksheets. The steps will be different depending on how you plan to use them – print-out or digital.
Step 1: Download the PDF File
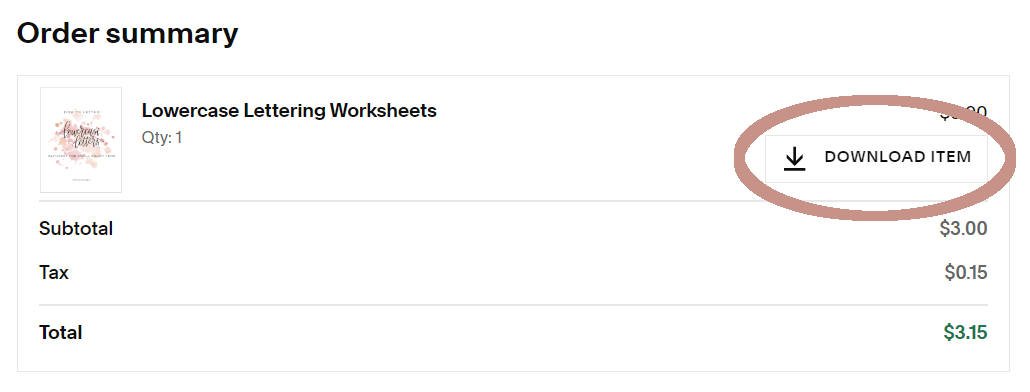
After you’ve purchased your practice sheets, completing the checkout process, you’ll be brought to an order summary page. This will display a “Download Item” button that allows you to download the file to your device. Click or tap the button, and the download will begin automatically.
If you’re planning to practice on real paper, you can download the file to any device that’s set up with a printer. This could be your phone, tablet, or laptop.
If you’re going to be lettering digitally, it’s easiest to download the file directly onto your iPad or tablet.
You can choose to save your file in a specific location or simply let it go to the default folder. Either way, take note of where the file was saved, so you can find it later! Don’t worry -- you’ll also get an email with a link to the same download if you need it for future reference.
Step 2: Open the File
The next step is to open the file. All calligraphy practice sheets from Heinen Designs are in a PDF format. This makes it easy to open them in lots of different apps and programs on multiple devices.
If you’re planning to print the practice sheets out on real paper, you can open the PDF using a free program like Adobe Reader or almost any web browser.
If you’re planning to letter digitally, you’ll need a program like Procreate, Photoshop, or similar. You can still open and view the PDF without these apps, but if you want to start lettering with your digital pencil, you’ll need to get an app first. Procreate is my go-to choice.
Step 3: Print the Pages Out
Obviously, if you’re going the digital route, you can skip this step, although there’s definitely something to be said about giving real pen and ink a try!
With the PDF open, tap the print icon on your device. If you’re printing for the first time, it is recommended that you print out the entire packet, but it’s perfectly acceptable to print out a specific page or two or to exclude the cover page and “Thank You” page from the print job if you’d prefer to save some paper and ink.
You can also choose to print in black and white, but you may lose some of the functionality of the pages, such as the distinction between red and blue help lines for each letter.
Step 4: Choose Your Pen
Different calligraphy styles require different pen types. Depending on the font you’ve chosen, you may need to purchase the correct pen type to practice the letters successfully.
To make things simple, there are basically two styles of pens to choose from, and these two cover most calligraphy fonts: monoline pens and brush pens. This is true for digital too!
Monoline pens write with a single line thickness. No matter how hard you press or which angle you hold the pen at, the line thickness will be the same.
Brush pens, on the other hand, allow for varied line thickness. If you increase the pressure, the line gets thicker. If you lighten the pressure, the line gets thinner.
Some calligraphy fonts require a monoline pen and others require a brush pen. Each Heinen Designs practice sheet shows which pens are recommended for that particular alphabet, so be sure to read the description to have the right pen ready!
If you’re lettering digitally, you’ll have a whole slew of pen / nib options to choose from in your app.
Step 5: Choose Your Letter
If you’re trying calligraphy or a new font for the first time, you may wish to start with the letter A, then move to B, then C, and so forth, working your way through the entire alphabet. There’s nothing wrong with this approach. However, you may find more joy in skipping down to a particular letter that stands out to you.
This is perfectly acceptable too! Just remember, you’re here to practice. It’s one thing to start with a letter somewhere in the middle and trace it ten times, until it’s ingrained in your muscle memory. It’s another thing to trace one letter C, then jump to M and trace two of those, then, back to K and trace one of those.
Practice makes perfect! So, if you truly want to master your calligraphy skills, see it through. Spend the extra time on each letter, even when you think you’ve perfected it. Trace it again. And again. And again! Until it becomes part of who you are as an artist.
Step 6: Observe the Strokes & Typography Lines
Most Heinen Designs calligraphy worksheets come with help lines. This includes arrows on the first letter to indicate which direction your pen should be moving on each stroke, as well as standard typography lines: the baseline, the X-height, the ascender line, etc. Remember grade school handwriting class? The typography lines show you how tall your lowercase letters should be, how tall your capital letters should be, and so on. They’re like guard rails for your lettering.
Take time to observe these help lines before you jump into tracing. It’s not about getting it down quickly. It’s art. Note where the first stroke begins and ends. Does it pass through the capital height or fall short? Note the curve or tilt of the stroke. Is it pitched forward or slightly back? If it’s an oval stroke, does it move clockwise or counterclockwise?
These minute details are important for successful calligraphy. They make the difference between handwriting and art. Observe the positioning of each letter before you start tracing it, and you’ll be a better calligraphy artist for it long-term.
Step 7: Trace the Letters Multiple Times
As mentioned in step 5, it’s important to stay focused on each letter and giving yourself time to truly practice the strokes. This means writing the letter multiple times across the row until you’ve filled out the space. Calligraphy practice sheets are just that: practice sheets, and they’re intended for the specific purpose of practice – repeating an action or process multiple times to improve a skill.
Heinen Designs calligraphy practice sheets feature traceable letters, meaning each letter is printed in a light, semi-transparent grey that can be lettered on top of, allowing the ink to show through clearly. Some practice sheets have traceable versions of each letter across the entire row. Others leave blank space after the traceable letters, giving you room to apply your skills freehand.
The other great thing about Heinen Designs calligraphy practice sheets is that once the PDF is purchased, you can print it out multiple times. If you need some additional practice on a particular letter or you want to retrace the entire alphabet, just send the file to the printer again!
Obviously, with digital, you can easily reuse the pages. It is recommended that you create a separate layer in your calligraphy program (Procreate or Photoshop) to letter over the top of the practice sheet layer. This makes it easy to delete the layer and create another for repeated practice.
Which Practice Sheets to Begin With
If you’re ready to get started on your lettering journey, practice sheets are the perfect place to start. All you have to do is choose your desired alphabet that you want to learn. If you’re just starting out as a modern calligrapher, the lowercase calligraphy practice sheets are highly recommended. The monoline alphabet is also a popular choice. From there, you can add more font styles and grow your skill as a calligraphy artist.


